
Put a password on a PDF
On iOS 26 or later, the Preview app can lock a PDF with a password. Apple’s numbers jump from iOS 18 to iOS 26: there’s no iOS 19 to 25. To see which iOS you have, open the Settings app and tap General, then Software Update. The screen shows the iOS on your iPhone, and any update that’s ready. Looking there doesn’t install anything.
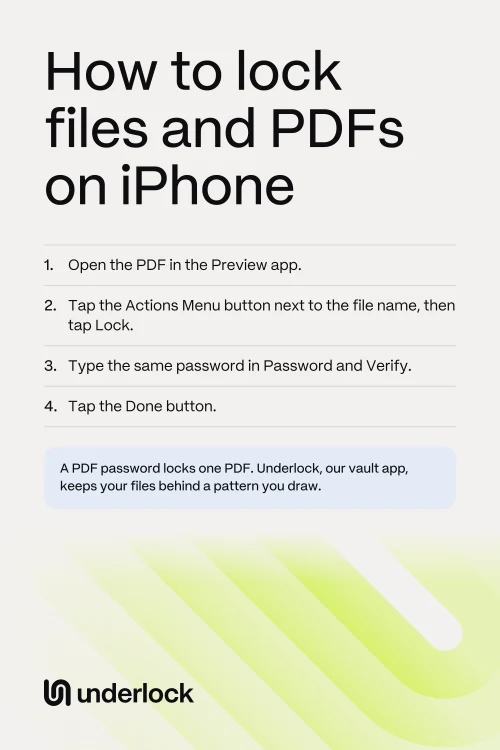
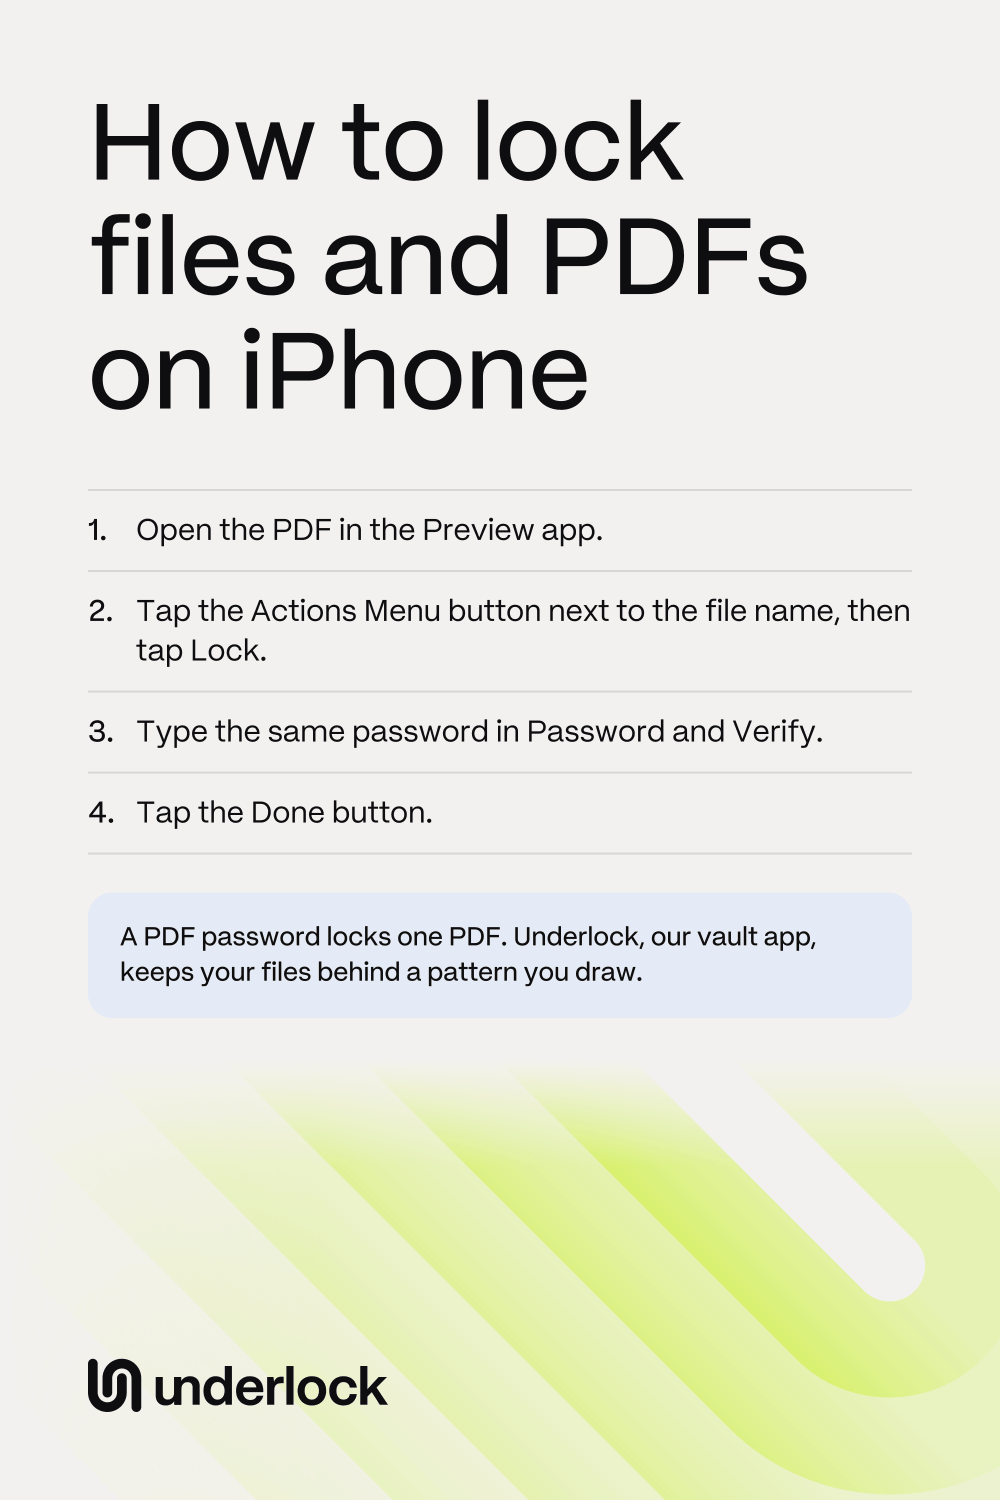
- Open the Preview app.
- Open the PDF you want to lock.
- Tap the Actions Menu button (a down arrow) next to the file name, then tap Lock.
- If Require Password is off, turn it on.
- Type a password in Password. Type the same password in Verify.
- Tap the Done button (a check mark).
The password goes on the PDF itself. So the PDF asks for the password before it opens, and anyone you send the PDF to needs the password too. Keep the password somewhere safe. If you forget the password, Apple’s help gives no way back into the PDF. The PDF’s name still shows in the Files app, so choose a name you don’t mind anyone reading. The lock covers one PDF, so lock each PDF the same way.
Lock the Files app
On iOS 18 or later, you can lock the Files app. A locked Files app asks for Face ID, Touch ID or your iPhone passcode before it opens. Apple says what’s inside a locked app won’t show in iPhone search or in notifications.
- Go to your Home Screen.
- Touch and hold the Files app until a menu opens.
- Tap Require Face ID. On an iPhone with Touch ID, tap Require Touch ID.
- Tap the same choice again to confirm.
- Use Face ID, Touch ID or your passcode.
Anyone who knows your iPhone passcode can still open a locked Files app. The lock covers the Files app only. Preview can open the same PDFs without the Files app. So on iOS 26 or later, lock the Preview app the same way you locked the Files app. These locks work on this iPhone only, not on your iPad.
Scan a paper into a locked note
Scanning into a locked note is for paper you have in your hand, like a letter or a card. Apple says a locked note can hold a scanned paper. A locked note can’t hold a PDF that you attach from the Files app.
- Open the Notes app.
- Tap the New Note button (a square with a pencil).
- Type a title on the first line. The title still shows in your notes list after you lock the note, so choose a title you don’t mind anyone reading.
- Tap the Attachments button (a paper clip), then tap Scan Documents. On iOS 17, tap the Camera button instead of Attachments.
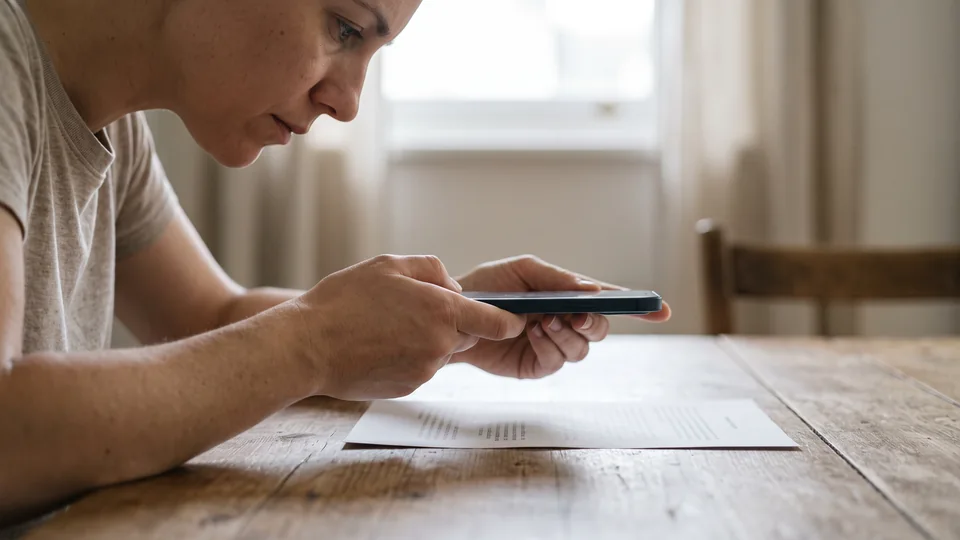
- Hold your iPhone over the paper. Your iPhone takes the scan by itself when it finds the edges of the page.
- Scan any other pages. Then tap the Done button (a check mark). On iOS 17 and iOS 18, tap Save.
- Tap the Note Actions button (three dots), then tap Lock. The note gets a lock, but the note stays open until you close it in step 9.
- The first time you lock a note, choose your iPhone passcode or a Notes password. If someone else knows your passcode, choose a Notes password. If you forget a Notes password, Apple can’t help you open the notes locked with it.
- To close the note, tap the padlock icon at the top of the note. The note then locks.
To open the note later, tap the note, then tap View Note. For more on Notes passwords and Face ID, see How to lock notes on iPhone.
Delete files for good
When you delete a file in the Files app, the file waits in Recently Deleted for 30 days. After 30 days, your iPhone deletes the file for good. To delete a file for good sooner, delete the file again in Recently Deleted.
- Open the Files app.
- Tap Browse.
- Under Locations, tap Recently Deleted.
- Tap the More button (three dots in a circle), then tap Select.
- Tap the files you want to delete for good.
- Tap the Delete button (a trash can).
A file you delete in Recently Deleted can’t be brought back.
Which lock fits your files
Here’s what each lock does.
| What opens it | Someone who knows your passcode can open it | What it locks | |
|---|---|---|---|
| PDF password (iOS 26 or later) | The password you chose | No | One PDF |
| Locked Files app (iOS 18 or later) | Face ID, Touch ID or your iPhone passcode | Yes | Only the Files app. Preview can still open your PDFs. |
| Note with a scan, locked with your passcode | Your iPhone passcode, or Face ID or Touch ID once you turn them on for Notes | Yes | That note: its text, scans and photos |
| Note with a scan, locked with a Notes password | Your Notes password, or Face ID or Touch ID once you turn them on for Notes | No | That note: its text, scans and photos |
| Underlock | Your own pattern | No | Everything in your vault |
If you’re the only one who knows your passcode, a locked Files app and a locked Preview app may be all you need.
Keep files behind your own pattern
We make Underlock, a private vault on your iPhone for photos, videos, files and notes. You open your vault by drawing a pattern on a grid of dots. Your iPhone passcode and Face ID don’t open your vault. To see how a vault helps with IDs and papers, read IDs and documents.
Underlock is coming soon to the App Store. Here’s how it will work.
- Open Underlock. Then draw your pattern.
- Tap the Add button (a plus sign), then Import from Files.
- Choose the files you want to import.
- Keep Underlock open until the import finishes. If you leave Underlock, the import stops, but files already imported stay in your vault.
- When Underlock asks whether to remove the originals from the Files app, tap Remove. Underlock then moves the originals to Recently Deleted, in the Files app.
- Check that your files are in your vault.
- In the Files app, delete the originals from Recently Deleted, as in Delete files for good.

Until you delete the originals, anyone who can open the Files app on your iPhone can find them in Recently Deleted. Once you delete the originals, the files in your vault are your only copy. Keep a paper copy of anything you can’t replace. See how Underlock’s setup works, step by step.
Questions people ask
The Files app has no way to hide one file, but you can lock the whole Files app. Apple says apps that come with your iPhone, like Files, can’t be hidden. To keep files out of the Files app, import them into a vault app like Underlock, then remove the originals.
Yes, on iOS 26 or later. The Preview app can put a password on a PDF: the steps are under Put a password on a PDF. With iOS 17 or iOS 18, scan the paper into a locked note instead, or keep the PDF in a vault app like Underlock.
Not a PDF from the Files app. Apple says a note with a PDF attached can’t be locked. A paper that you scan into a note can be locked: see Scan a paper into a locked note.
To Recently Deleted, in the Files app. Deleted files wait there for 30 days, and then your iPhone deletes the files for good. If a file is in iCloud Drive, deleting the file on your iPhone deletes it on your other devices too.
No. To bring a paper into Underlock, scan the paper with the Files app first. In the Files app, tap the More button (three dots in a circle), then tap Scan Documents. Then, in Underlock, tap Add, then Import from Files. Choose the scan.
Yes. Underlock is free forever: one vault, no file limit. If the free plan ever changes, you keep the plan you started with. More vaults come with Pro, Underlock’s paid plan.