

The checklist
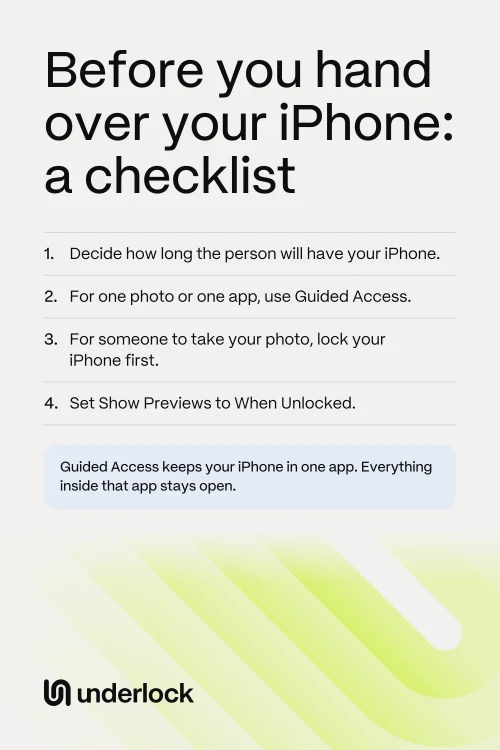
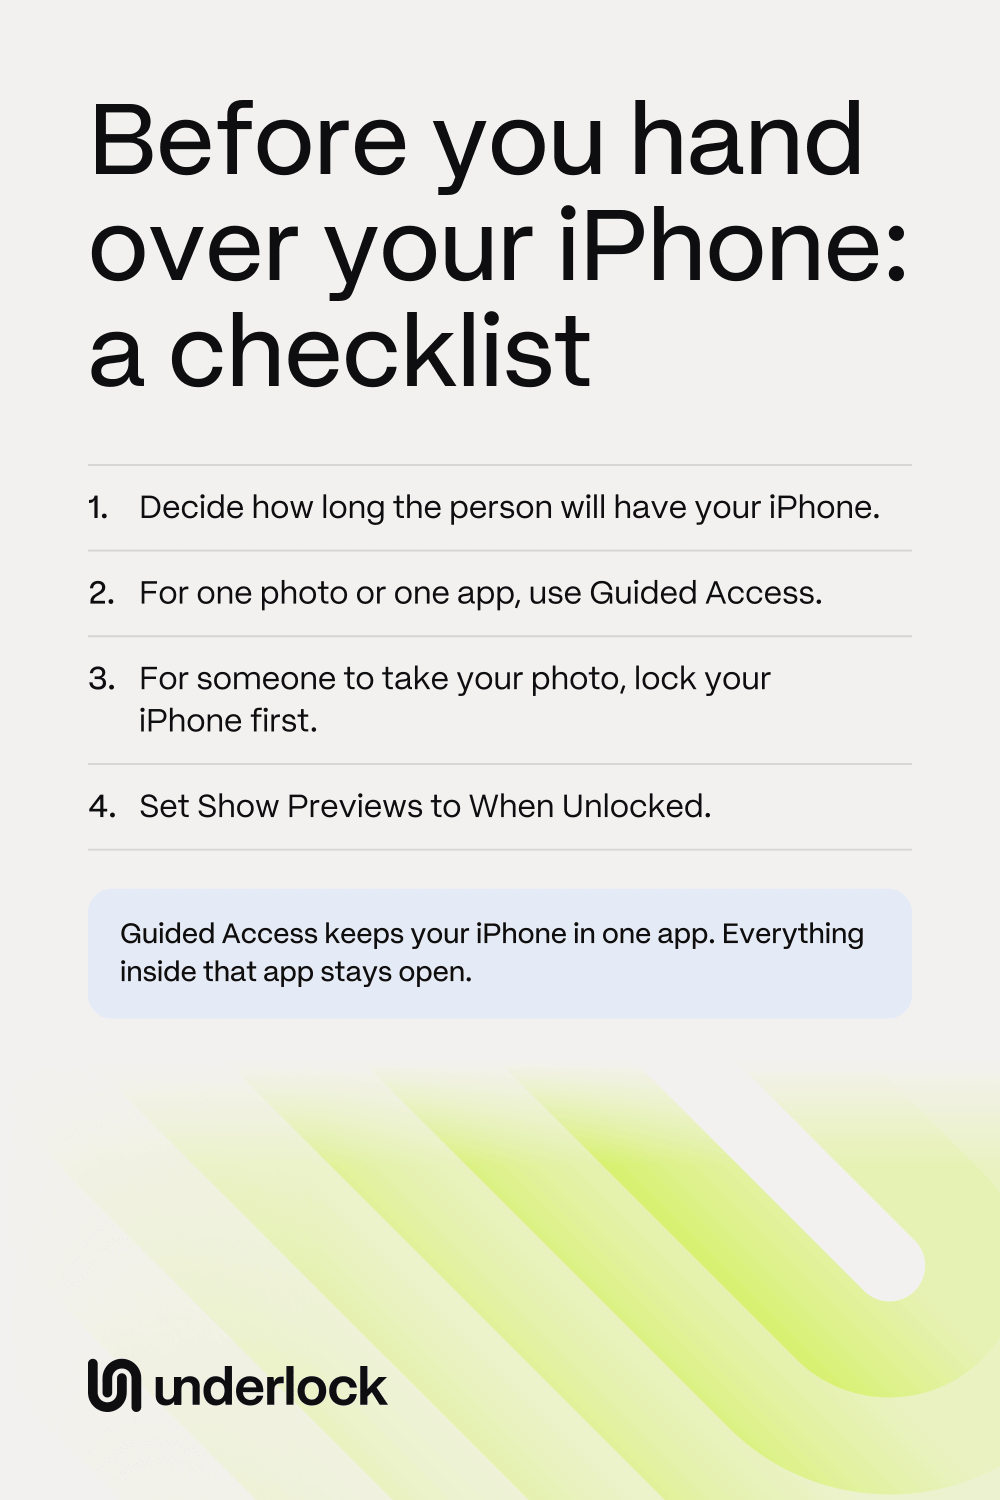
Start with step 1. Then do whichever of steps 2 to 5 fits. Step 6 helps every time.
- Decide how long the person will have your iPhone. A quick look and a long game need different steps. If the person only needs a photo, you can send the photo and keep your iPhone.
- To show one photo, open the photo and start Guided Access, which keeps your iPhone in one app. In Session Settings, turn off Touch, so the screen ignores every swipe. Anyone who knows your Guided Access passcode can still end the session. See how to show one photo.
- To stay in one app, open the app and start Guided Access. The whole app stays open, so the person can use everything in that app. A session can’t include a second app, and emergency calls don’t work until you end the session. See how to use Guided Access.
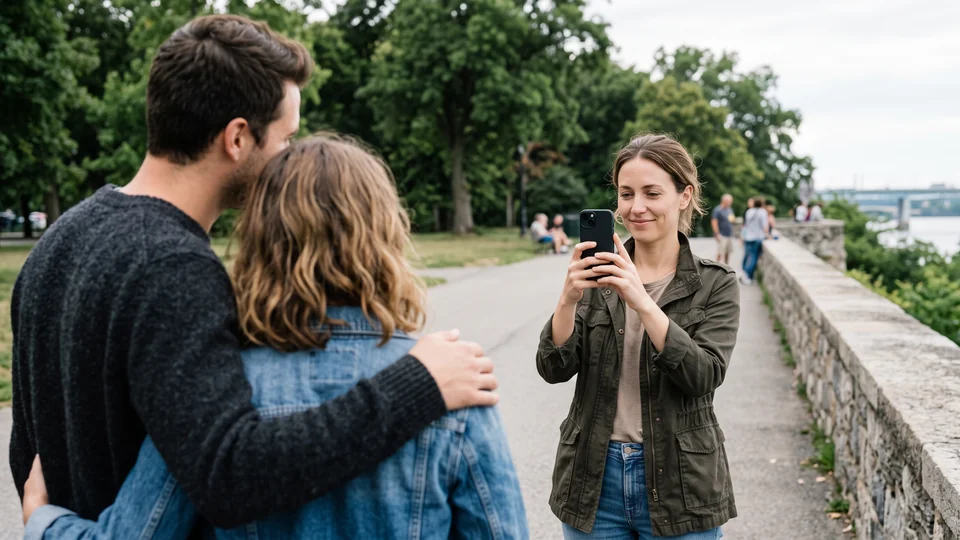
- For someone to take your photo, lock your iPhone, then hand your iPhone over. The person presses the side button, then swipes left on the Lock Screen. Apple’s camera opens, and your iPhone stays locked. If your iPhone is unlocked instead, the person can go from the camera to your whole photo library. See how to hand over the camera.
- For kids, start Guided Access in the game or app they want. Choose a Guided Access passcode that’s different from your iPhone passcode, because kids often learn a parent’s passcode. Once the session ends, the rest of your iPhone is open again. See when kids or family use your phone.
- To keep message previews off the Lock Screen, open the Settings app. Tap Notifications, then Show Previews, then When Unlocked. This setting covers only a locked iPhone: once your iPhone is unlocked, previews show again.
Hand over your phone without a second thought
We make Underlock, a private vault on your iPhone for photos, videos, files and notes. You open your vault by drawing a pattern on a grid of dots.
Underlock is coming soon to the App Store. Here’s how it will work.
- Locked before you hand over your iPhone. By default, your vault locks as soon as you leave Underlock for another app.
- Not your passcode. Your iPhone passcode, Face ID and Touch ID don’t open your vault.
- Not in the Photos app. Photos in your vault aren’t in the Photos app, so a swipe in the Photos app never reaches them. The originals stay in the Photos app until you remove them.

Inside an open vault, a swipe shows the next photo or file. So lock your vault before you hand over your iPhone.
Questions people ask
Yes, if the person only needs the camera. Apple says your contacts, emails, photos and videos stay behind the Lock Screen until someone unlocks your iPhone. For anything else, the person needs your iPhone unlocked, so use Guided Access.
Yes. When you start a Guided Access session, tap Session Settings, then turn on Time Limit and choose a time.
This checklist is for someone using your iPhone while you’re nearby. For a repair, see what to do before you send your iPhone for repair.
Yes. Underlock is free forever: one vault, no file limit. If the free plan ever changes, you keep the plan you started with. More vaults come with Pro, Underlock’s paid plan.